
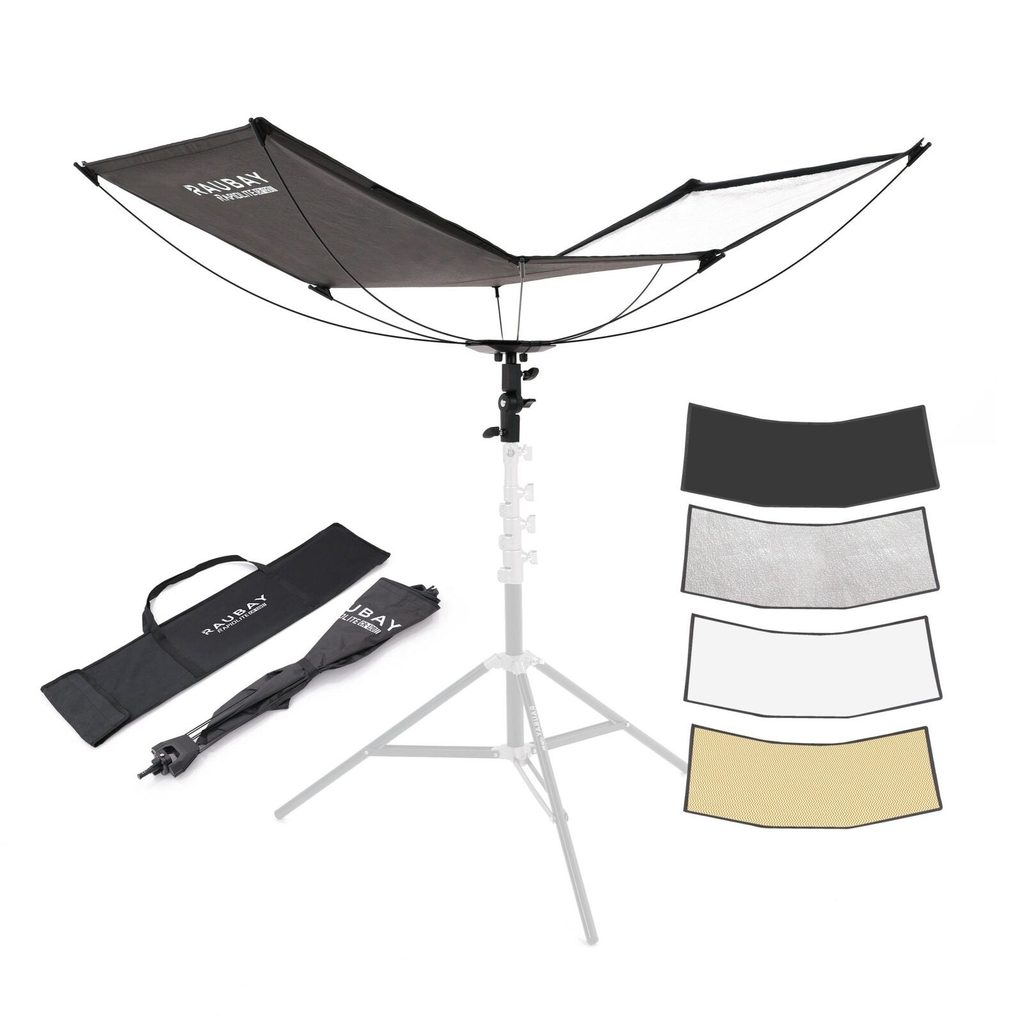
The same strobe can produce a dozen different looks depending on what you attach to the front of it. A bare bulb creates sharp shadows and stark contrast, while a diffusion panel wraps a face in gentle, forgiving light. A grid narrows the beam into a focused pool, and a reflector kicks light back to fill in the shadow side of a scene. That is why modifiers matter more than any single strobe upgrade for most photographers. Once you understand what softness, direction, and shape do to a subject, you can build a kit that handles portrait work, product photography, and video interviews without switching to a different lighting brand. This guide walks through the categories of modifiers, when each one shines, and how to choose the right shapes for the images you want to make.
How Modifier Shape Changes the Final Image
The shape of a modifier determines the shape of the catchlight in a subject’s eyes, the falloff pattern across a face, and the specular highlights that appear on shiny surfaces. Round shapes such as octaboxes and beauty dishes create circular reflections that mimic the sun, while rectangular softboxes produce elongated highlights that read as window light. Choosing among light modifiers for photography comes down to matching the shape of the light source to the story you want the image to tell.
Circular Sources for Portrait Naturalism
Octaboxes and beauty dishes render skin with a smooth, sun-like quality that flatters most face shapes. The circular catchlight looks organic and does not distract viewers with a rectangular reflection that betrays the artificial source. Portrait photographers who shoot weddings and headshots often build their entire lighting kit around a single large octabox for this reason.
Rectangular Sources for Editorial Feel
Strip softboxes and standard rectangular softboxes create highlights that resemble window light streaming into a room. This shape works well for fashion editorial, lifestyle content, and product photography where the goal is to imply a natural environment. Vertical strips also produce elegant rim lighting when placed behind a subject.
Soft Versus Hard Light Decisions
Softness comes from the effective size of the light relative to the subject, not from the strobe itself. A tiny umbrella held very close to a face produces softer light than a large softbox placed twenty feet away. That relationship is the single most important concept behind modifier selection, and it explains why the same softbox can produce dramatically different looks depending on distance.
When Softness Flatters
Skin with texture, wrinkles, or blemishes reads better under soft light because the wrapping quality of the source hides minor imperfections. Newborn photography, senior portraits, and beauty campaigns almost always call for large diffused sources placed close to the subject. Large umbrellas, octaboxes over forty inches, and diffusion panels held near the face all deliver this quality.
When Hard Light Adds Drama
Hard sources such as bare bulbs, standard reflectors, and small grid spots carve out sharp shadows that emphasize structure. Male portraits often benefit from this style because the shadows accentuate the jawline and cheekbones. Fashion photographers use hard light to create graphic, editorial images that feel bold rather than soft and inviting.
Control Attachments That Shape the Beam
Beyond the primary modifier, attachments like grids, flags, and gels give photographers finer control over where light lands. These add-ons transform a general-purpose softbox into a precise tool that lights the subject without spilling onto the background. Building a small collection of control attachments from a maker like Raubay expands the versatility of every strobe in your kit.
Grids for Focused Illumination
A honeycomb grid narrows the beam of a softbox or reflector so light hits only the intended area. This becomes essential when shooting in tight spaces where a naked softbox would spill onto walls and create unwanted color casts. Grids also help isolate a subject from the background without needing a longer working distance.
Flags and Gobos for Shadow Shaping
Black flags block portions of the light path, letting you carve shadow shapes onto walls or subjects. This technique creates cinematic looks and controls the falloff on a face for split lighting or Rembrandt lighting. Combine flags with a small softbox to build classic Hollywood-inspired portraiture in a modest studio space.
Matching Modifiers to Your Shooting Style
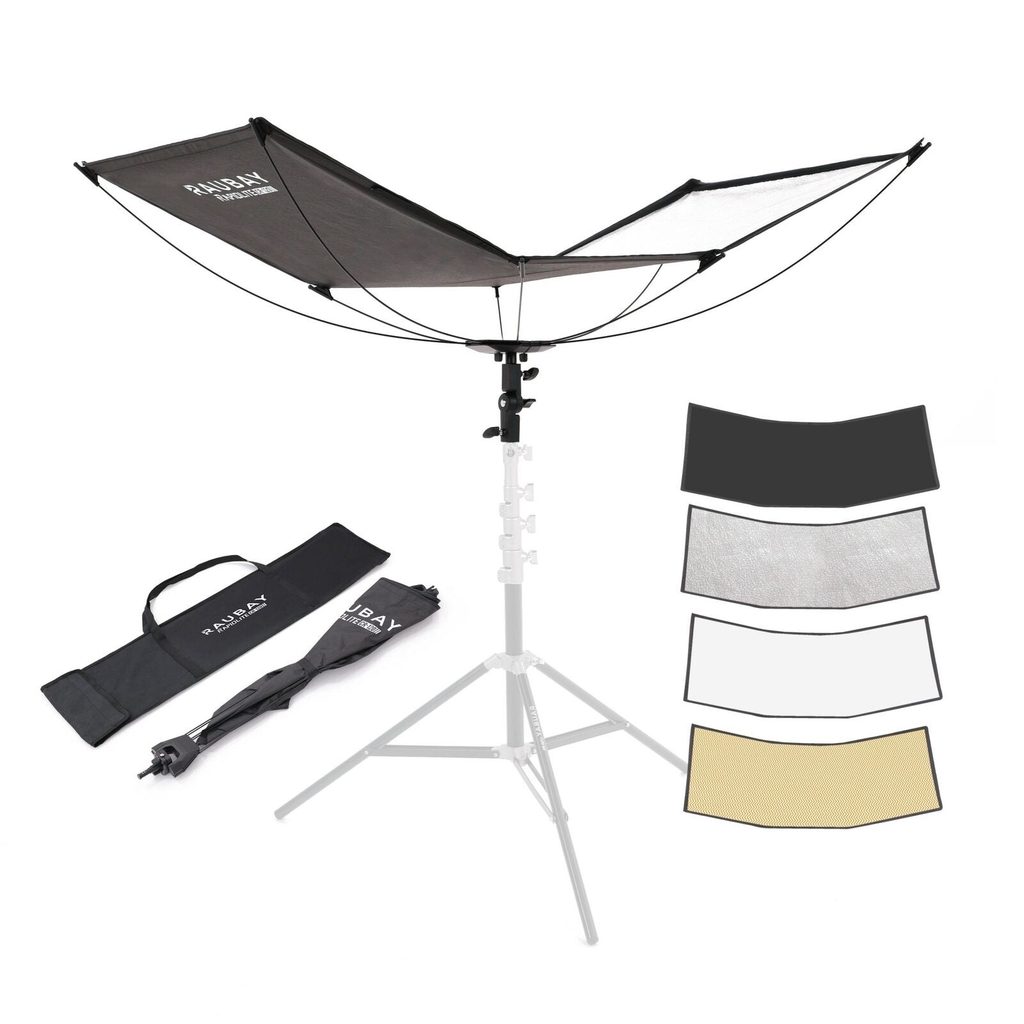
The right modifier kit depends less on brand loyalty and more on the type of work you do most often. A newborn photographer needs different tools than a food photographer or a corporate headshot specialist, and buying the wrong shapes wastes money on gear that sits unused. Start by listing the three most common images you produce, then work backward to the modifiers that would create each one efficiently.
Kit Building for Portrait Photographers
A large octabox for the main light, a strip softbox for rim lighting, and a beauty dish with grid for character portraits cover the majority of portrait scenarios. Add a small reflector or a white foam board for fill, and the kit handles families, seniors, headshots, and editorial work without needing further additions.
Kit Building for Product Photographers
Product work rewards diffusion panels, strip softboxes for reflective surfaces, and small snoot attachments that highlight specific details. A tabletop scrim above the product creates even top light, while strip lights along each side control reflections on glass, metal, and polished plastic surfaces.
Shaping Light With Purpose
Every modifier in your kit should serve a clear image goal rather than sitting in a closet as an aspirational purchase. When you understand how softness comes from source size and distance, how shape creates catchlights and highlights, and how attachments refine the beam into a controlled tool, you gain the ability to design a photograph rather than react to whatever light happens to be in front of you. Build your collection slowly, starting with the modifiers that match your most frequent work, then add specialized shapes as your style evolves. A photographer with three well-chosen modifiers who understands each one deeply will consistently outperform a photographer with a closet full of gear that never gets used. Learn the tools, practice the placement, and let intentional light replace guesswork in every session.